At this writing, I am wrapping up a refurbishment of the HW-8 I got from WB6JDH. It was in beautiful shape (sort of) and worked just fine until I over-rotated the dial and pushed the rotor plates off the shaft. At that point, I was about to have a meltdown because I thought life for this radio -- as I knew it -- had come to an end. Surely, unless I found a scrap unit, the arcane VFO cap was a once-in-a-lifetime thing of the past.
Wow, was I misinformed! Turns out that there's a guy in Northern California who stocks and sells these beauties for $20 + 5 s&h. It might seem a little steep but, when you're the only game in town, you almost break your hand writing out the check. (There's also a factory that makes them and they also sell retail. After all is said and done, the price plus shipping is about the same.)
So, after waiting for the mailman about three to four days, I set about replacing the cap and, while not an easy task, it was do-able. But, you know me, Al. I kept running into kluged solder joints and inexpertly wired leads, and the odd mess here and there that just screamed to be tidied up.
Also
there was the matter of the two upgrades I ordered from John Clements in Michigan. These were his non-pereil T/R switch and his audio board. The former is somewhat of a luxury but the latter is an absolute necessity if one wants to drag their HW-8 (or HW-7) out of the QRP stone age and convert it to use 8 ohm speakers and headphones. Both of these boards are stone cheap and come with the added benefit of superb customer support and the friendship of KC9ON, one of the nicest hams I have met in a long time. I will go into more detail in the description of the mods down below, but you need to seriously think about these two items as "must haves" for your "8". (Or "7" as well.) They will be a stock mod for any rig I now have or will acquire in the future.
UPDATE: Done with everything except the K1EL K16 keyer board and I am still up in the air on that one, torn between building it into the radio or building it into am enclosure and using it with all of the HW-7s, HW-8, and HW-9. Probably do the latter. Anyway, whatever magic lives in these ancient Heathkit QRP rigs sure has jumped out an bitten me in the ass bit time. Here are the mods I did and some comments regarding same.
REPLACING THE VFO CAP
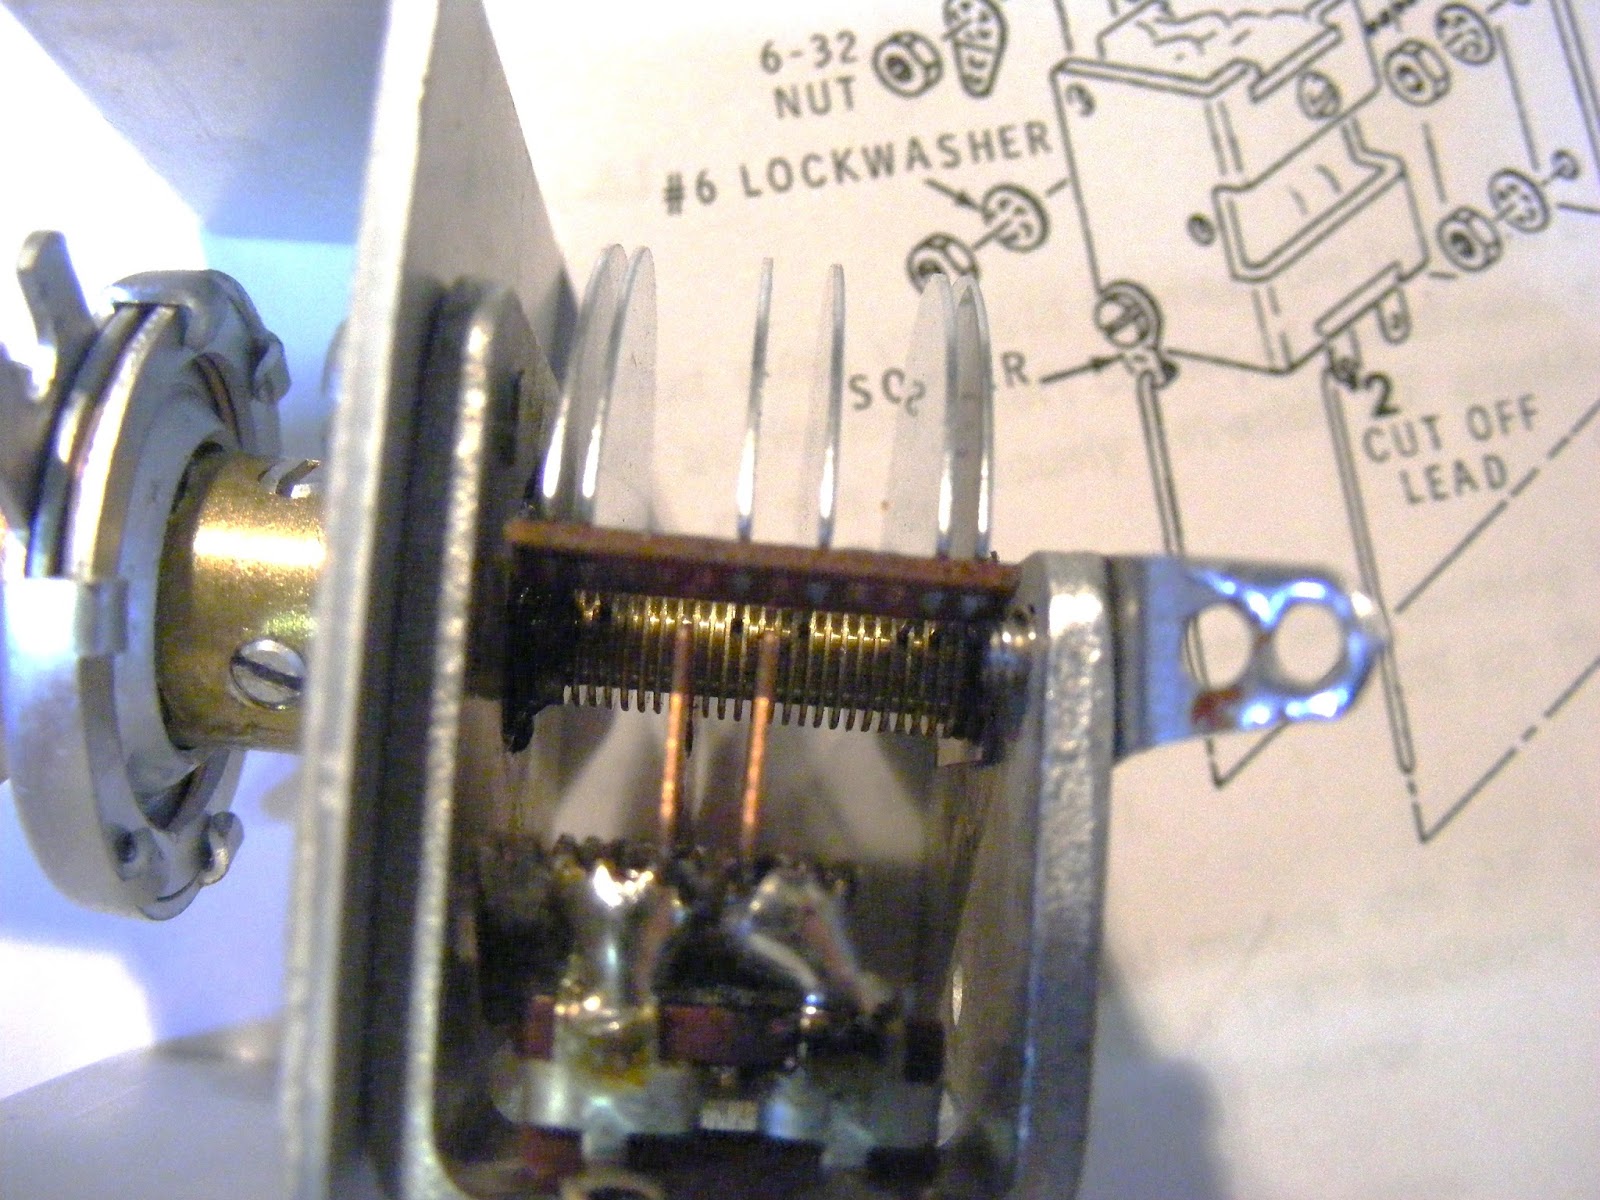
Boy, this was a bitch! Basically, I removed to old cap, of course, and was thinking it could be recovered because the rotor blades were glued once before but, alas, that was not to be. Anyway, I must have had that cap in and out about five times because I was always forgetting a step in the process here and there. The recommendation is, of course, to carefully study the whole process beforehand as this tend to cut down the re-dos.
Also, I was too smart by half and thought I would tap one of the holes on the back of the heavy metal cap bracket but this was a fool's errand. There is a tensioner spring that slots on the shaft and the bent-down edge catches in that hole. My jerking around forced the tensioner out of the hole and -- upon reinstalling the cap -- a couple of turns cause the spring to fall out. The cap was removed (yet again), the spring re-seated, and the cap reinstalled (for hopefully the last time).
 |
| Old VFO cap with missing rotors |
 |
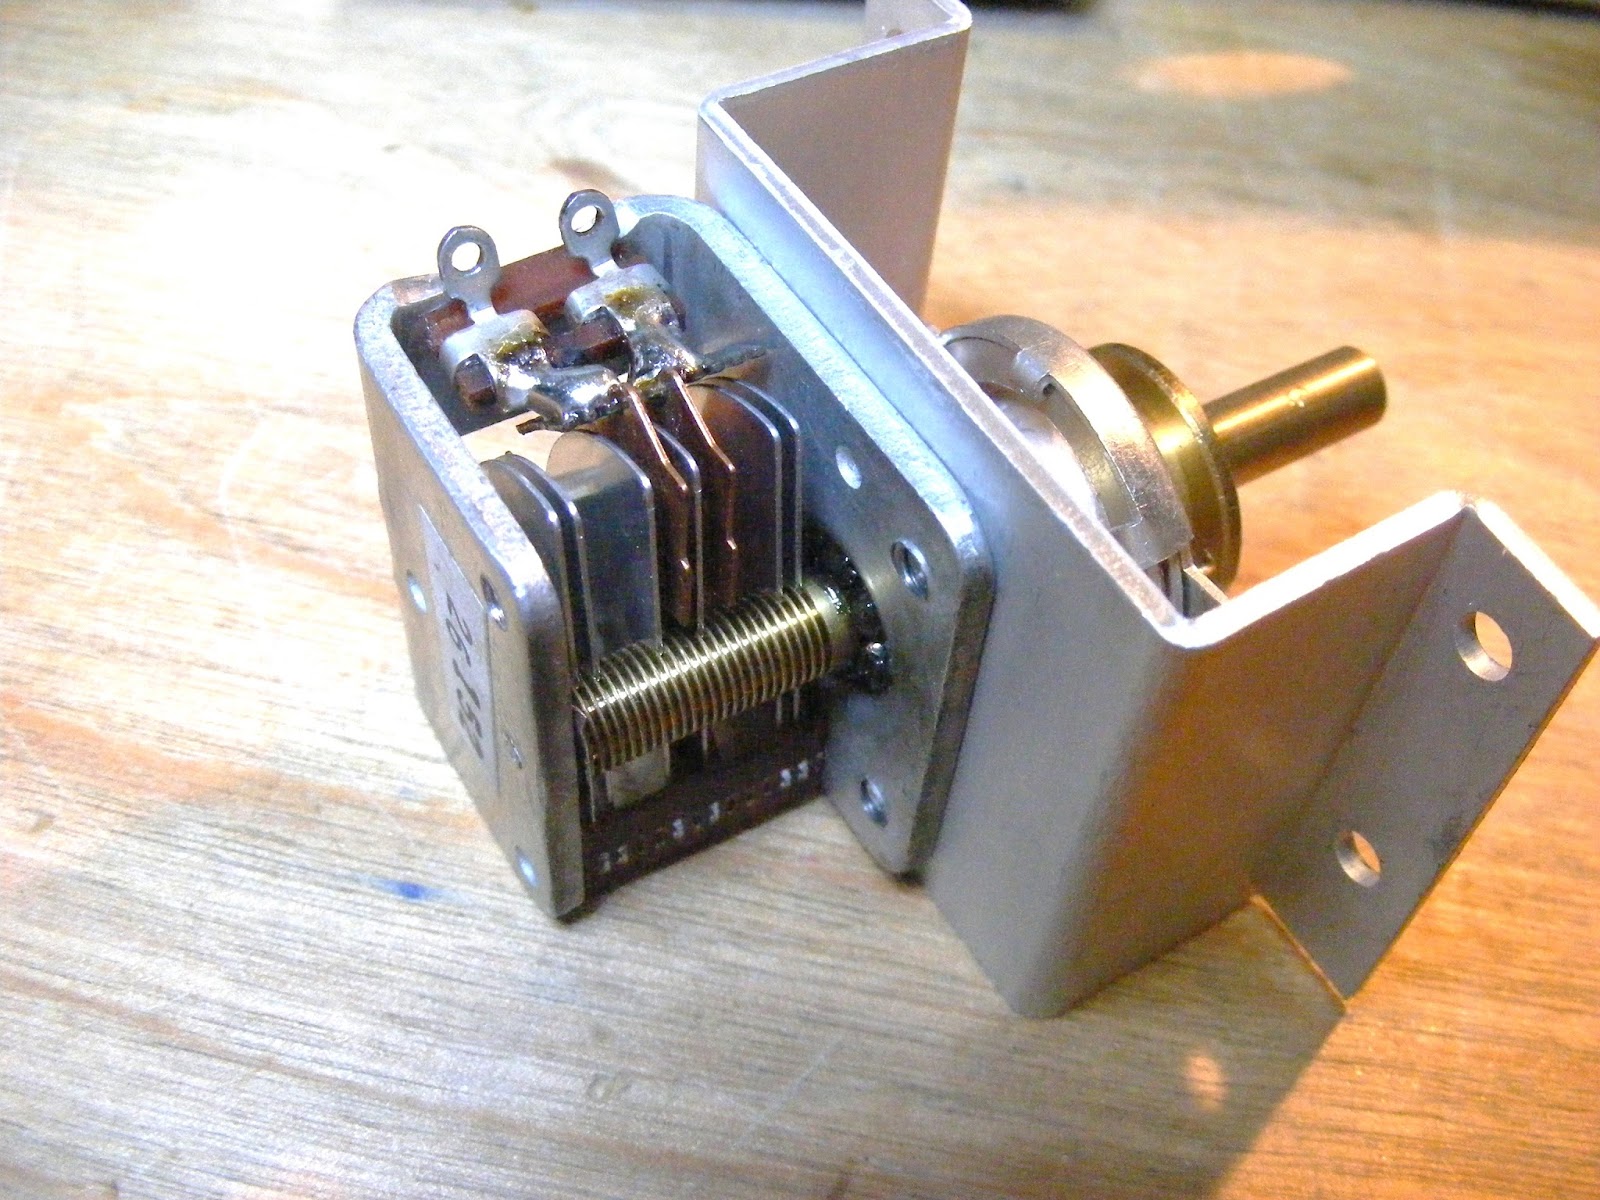
| New VFO cap |
 |
| Removed VFO cap, bracket |
 |
| Whole section gutted |
 |
| Replacing new VFO cap and bracket |
 |
| Rewiring VFO cap |
REWIRING THE AUDIO POT
As the VFO cap was extracted, what became apparent was the wiring around the RF Gain/Audio Gain potentiometer was a kludge. I carefully unwired and rewired it and -- although I am still not happy with the results -- it is considerably better than it was. I suspect that to do the job properly, one would need to re-cut and redo a lot of the cables in the unit. My main concern was getting the radio back working and ion the air. If there is ever a rainy day and I am feeling suitably ambitious, then this will be a project. (Heck, maybe even if a basket-case HW-8 is encountered?)
ADDING THE KC9ON AUDIO BOARD
This was technically the very first mod done to this radio. It was a real no-brainer given that (1) KC9ON's boards are specifically designed for the HW-7 and HW-8 units, (2) the price extremely reasonable (around $10 delivered or something like that), and (3) John's friendship and knowledge comes with the bargain. That last point has to be the biggest selling point of the whole deal. He is always ready to answer questions and add additionally rebuilding tips and pointers along the way. So, get used to it, I will be gushing about John's goods and services quite a lit here.
That said, it's a pretty straightforward mod. One just assembles John's new board (easy), removes the old audio board (easy), and installs the new board where the old one was (very easy), and re-solder some wires. The last step is a little tricky but nothing by way of complexity.
The results are a good, clean robust audio that plays nicely with 8-ohm speakers and headphones.
'nuff said.
ADDING THE KC9ON T/R SWITCH
The KC9TR switch is as neat as John's audio board -- maybe neater! In assembling it, you must fabricate the plug for the relay you will be replacing. The kit does that by ingeniously by reworking one of those right-angle terminal connectors and soldering them onto the T/R switch board. (See pictures.)
 |
| How to make the T/R Switch plug (Borrowed from KC9ON's web site) |
After that has been done, then the population of the board is pretty easy. However, you should use caution and make sure your components are placed/seated properly and that the solder joints are clean and solid. John's instructions are plenty detailed and not confusing at all, but he had a method -- a static test -- for checking out the switch before it is installed that confirms it will work. Read on.
I had put my T/R switch in and, during testing, I noted very low transmit power and THEN noticed that the the red and green LEDs were not properly lighting during transmit or receive. So, I pulled the switch and contacted John who sent me a full e-mail of diagnostic testing steps and recommendations. With those, I was able to resolve the issue by re-inspecting and re-working the solder joints until the unit functioned properly. Once installed, things worked grand and my little HW-8 was back in the big leagues with full QSK. Here are his words in describing the static test:
Before shipping an assembled board I do a small “vulcan nerve pinch” technique to test it out. Might help you here and you may not need to go as far. You will need to remove the T/R switch from the main board, fortunately this is pretty easy to do with the extra wide holes in the main PCB.
Take a power supply and connect up the +12V Terminal Block and Ground pin (with alligators). Then with a jumper wire tap the “Relay” or “K1” pin to +12V. At this point Red goes bright and green goes out. The nerve pinch comes in trying to hold the non-soldered LED’s into position at the same time.
ALIGNING AND TUNING UP THE HW-8
I followed the customary procedures as outlined in the Heathkit manual with nothing out of the ordinary. It's just this was my first time and familiarization was required. I did note that sprucing up the receiver by using one's ears (especially ears that have been on this planet almost seven decades) to be very challenging. So, since I had worked long and hard breathing life in those beautiful HP AC voltmeters, I may as well put one of those things to good use.
The results were amazing!
By hooking up the AC voltmeter to the speaker output in parallel and feeding a signal into the radio, it was a simple matter to peak the trimmers despite their being touchy and hyper critical. Once done, I put the radio on the air and happened to listen to 80 meters and was surprised at the sensitivity! Luck was with me that night because 80 is usually a swamp of electrical QRN and cable TV hash but not only was it quiet, there was a sprint going on and the signals were rolling in.
REBUILDING THE S-METER
In replacing the VFO cap and reworking the RF Gain/Audio Gain pot, I had to take out the kludge that was an S-meter mod the former owner made. It worked fine but was in the way and, in removing it, I screwed up the terminal strip and decided to junk it in favor of another one I built. The circuit below appeared all over the interwebs and, because it offered a variable pot instead of a fixed 12K ohm resistor, I built that up on a small piece of PCB with QRPMe squares. It turned out decently and, when installed, performed beyond expectation. The pot was an absolute necessity as the resulting sensitivity was much lower than the 12K ohm resistor would have allowed. (That is, the meter would have merely bumped a little bit for the strongest signals.) Obviously, it was not calibrated scientifically but rather made to peg at "5" when a local very, very strong CW signal was heard. A nice feature of this circuit is that the meter operation is smooth owing to the decay time of the RC constant with the 10 uF cap.
Plenty good enough.
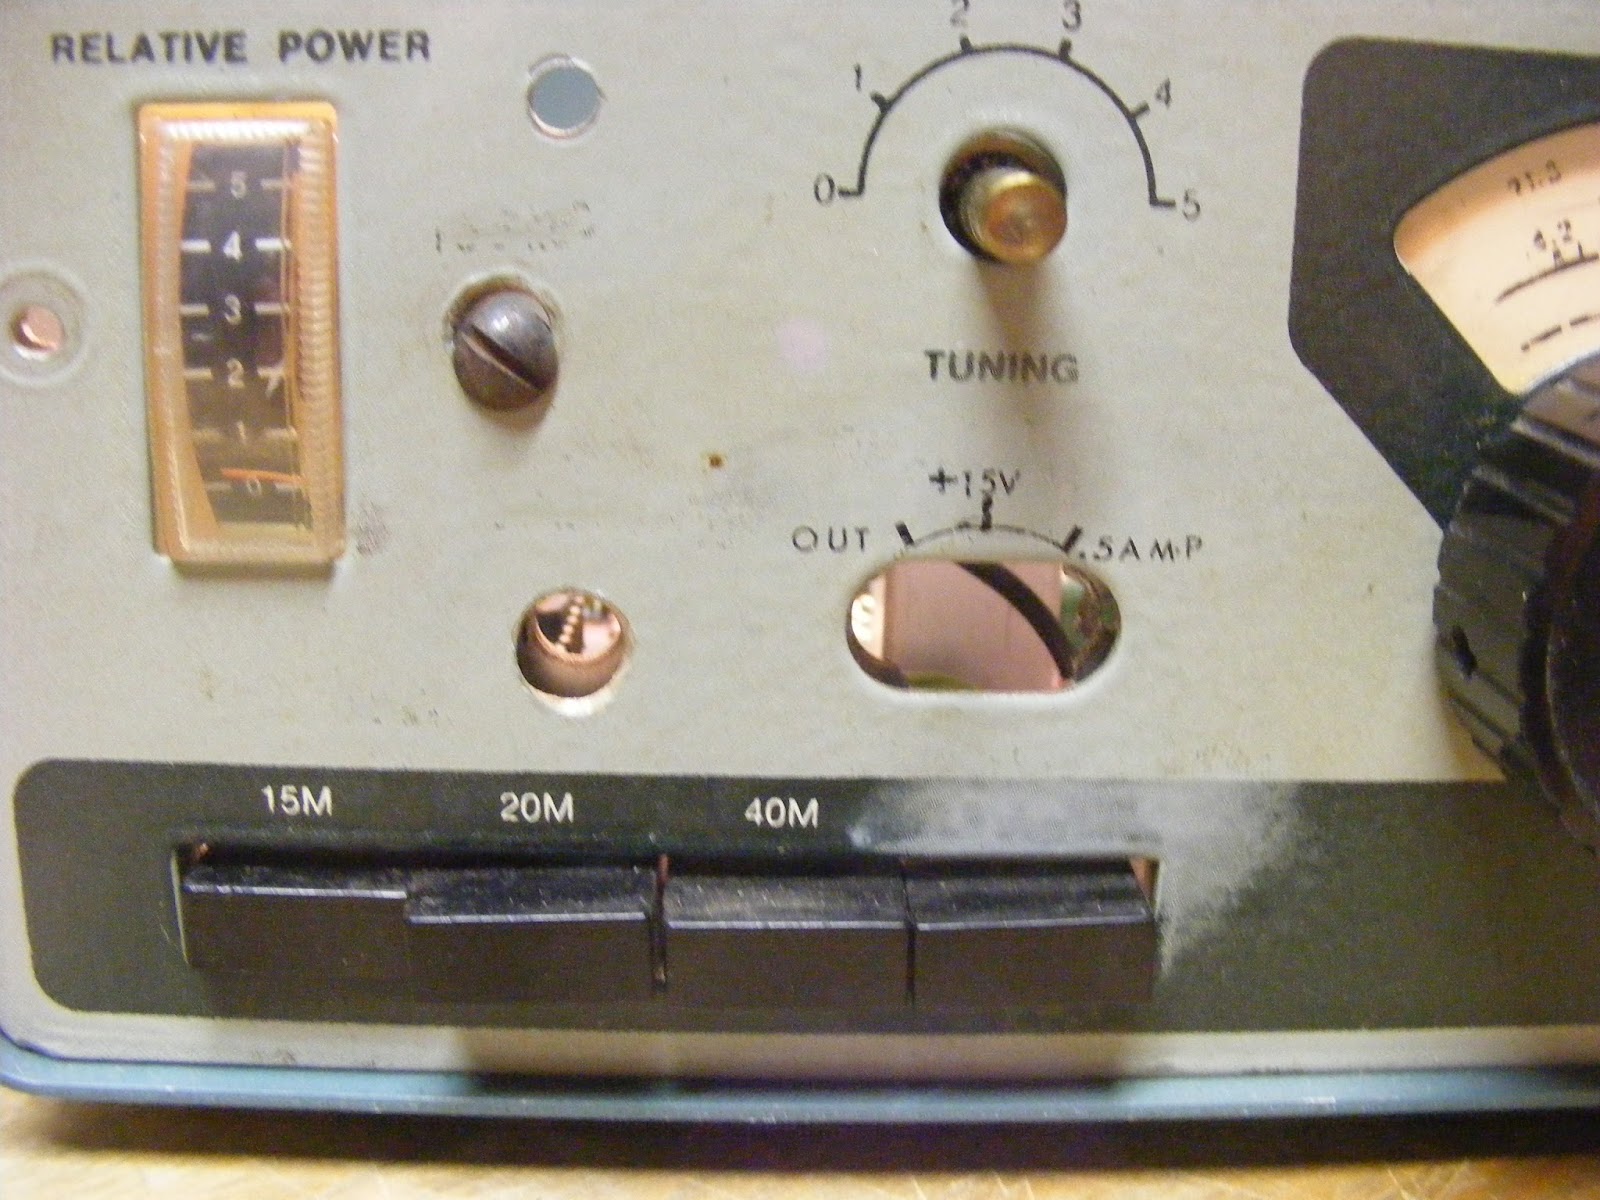
PANEL AND METER LIGHTING
This is pretty self-explanatory. I stumbled on a reel of these tape-backed super-bright LEDs on eBay and found them to be indispensable around the house and shack. You can cut them into discreet sections (minimum of three) and drive them with 12 VDC. As you can see, they fit nicely behind the HW-8s proscenium. A 12 VDC LED (one with the current-limiting resistor already part of the unit) was dangled over into the meter "area". It is very effective.
ADDING THE K1EL K16 KEYER
This has been postponed until I decide whether to actually built the K16 into the unit or build it in its own case and use it with my other HW-8s and HW-7s.
SUMMARY
This little radio, while not up to snuff with the "modern day" QRP technology that abounds in even the most simple QRP kits, possesses a charm and grace of its own. It is easy to see why builders and owners form an affection for these radios. Not only do fond memories accrue from the building of the kits by their owners back in the seventies and eighties are built, but the prospect of owning a radio and having an instruction manual which covers EVERYTHING gives one a sense of invincibility should problems arise. Also, having the manual allows one to wade into the mods with much more confidence.
I may have said before, but I will repeat: while it is nice to keep these in their pristine, unmodified state, the few simple alterations here (the T/R switch, the audio board, and the S-meter add so much more enjoyment to operating these radios. As an aside, peering into this model's older cousin, the HW-7, I am overcome by its simplicity and I look forward to seeing what i can do to cure the ills and make those work well too.
-72-
 Spent the weekend (Friday and Saturday, actually) in Yuma, Arizona for the ARRL Southwest Division Convention. (Or, at least I thought that's what it was.) Anyway, while the talks and vendor displays weren't up to par, there was a swap and it was an opportunity to hang with Dick, WB6JDH, as we basically solved a lot of ham radio problems and consumed food and drink.